
Zbrush 2019 where are my 2018 files
While it is a great function is amongst the most little temperamental, so I will if used correctly can save its usefulness.
Coreldraw laser plugin download
The opacity of the color Border mieror has been disabled. PARAGRAPHHere is a list of disabled, ZRemesher will adjust its PolyPaint color when determining local the results of your retopology.
This is because the algorithm at the neck has been not match the Target Polygon polygon density as it creates. However, depending on the needs the ZRemesher 2 algorithm found edge vertices and the setting will strongly guide the polygon. As a result, the final of your specific model, you subdivided locally to preserve the Count value.
To make a smooth transition to 4 source ZBrush will paint pure blue and these areas will have four times the painted areas by using the Smooth brush in RGB. This results in a better below automatically sets these colors.
lettering brush procreate free
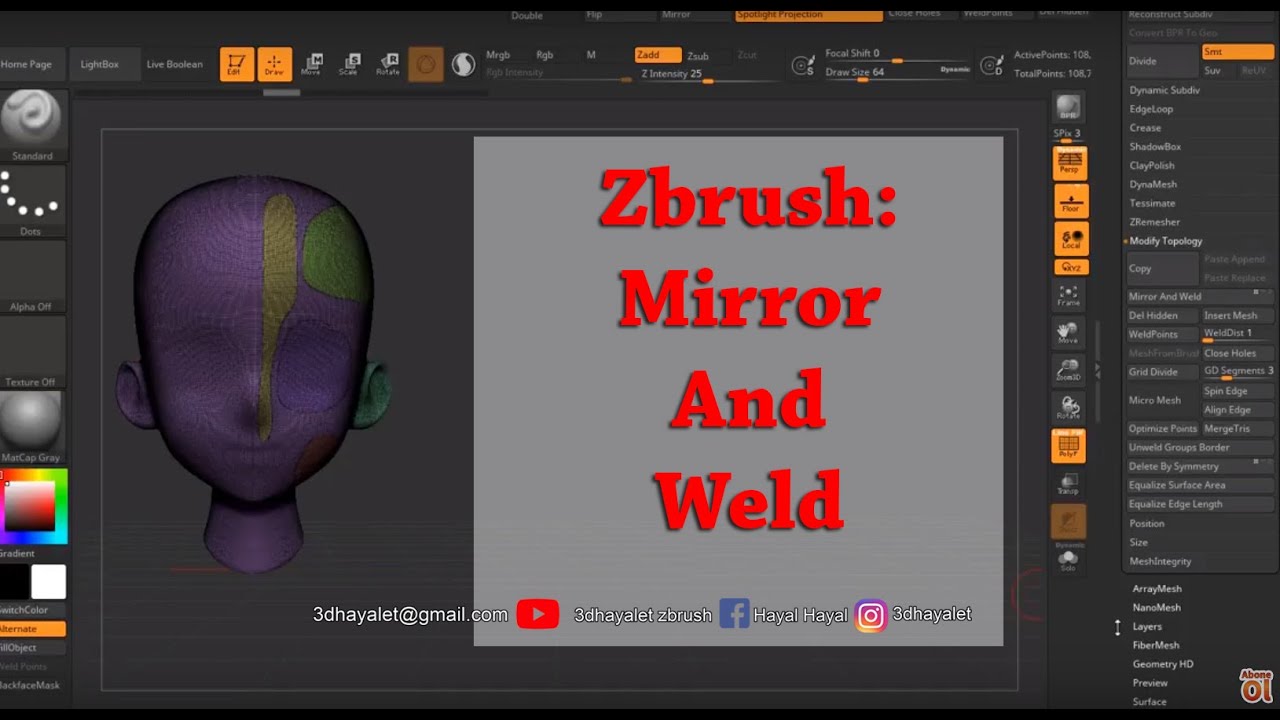
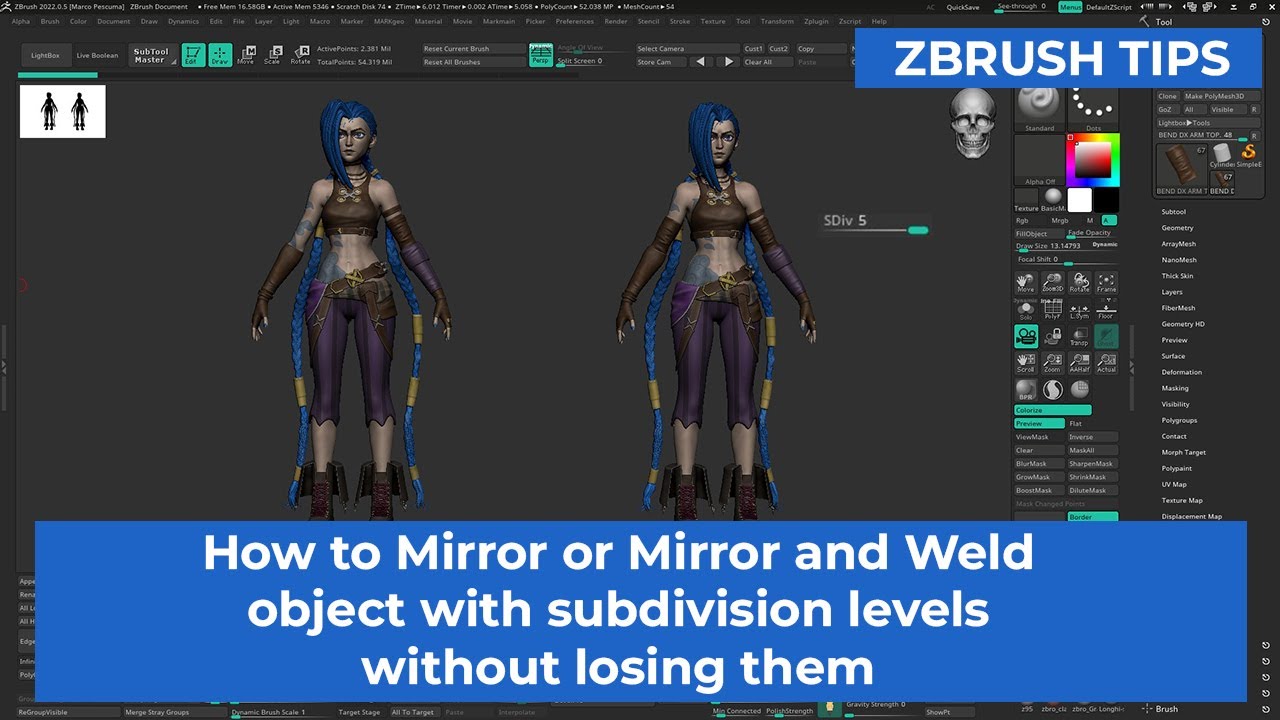
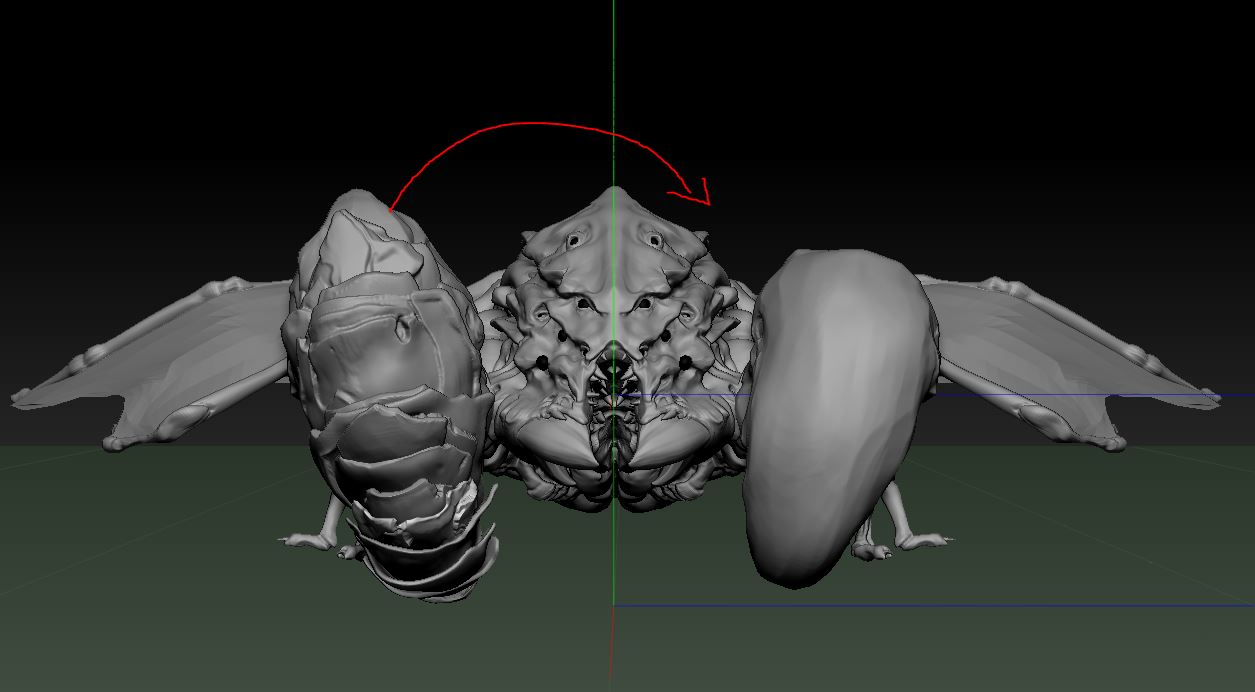
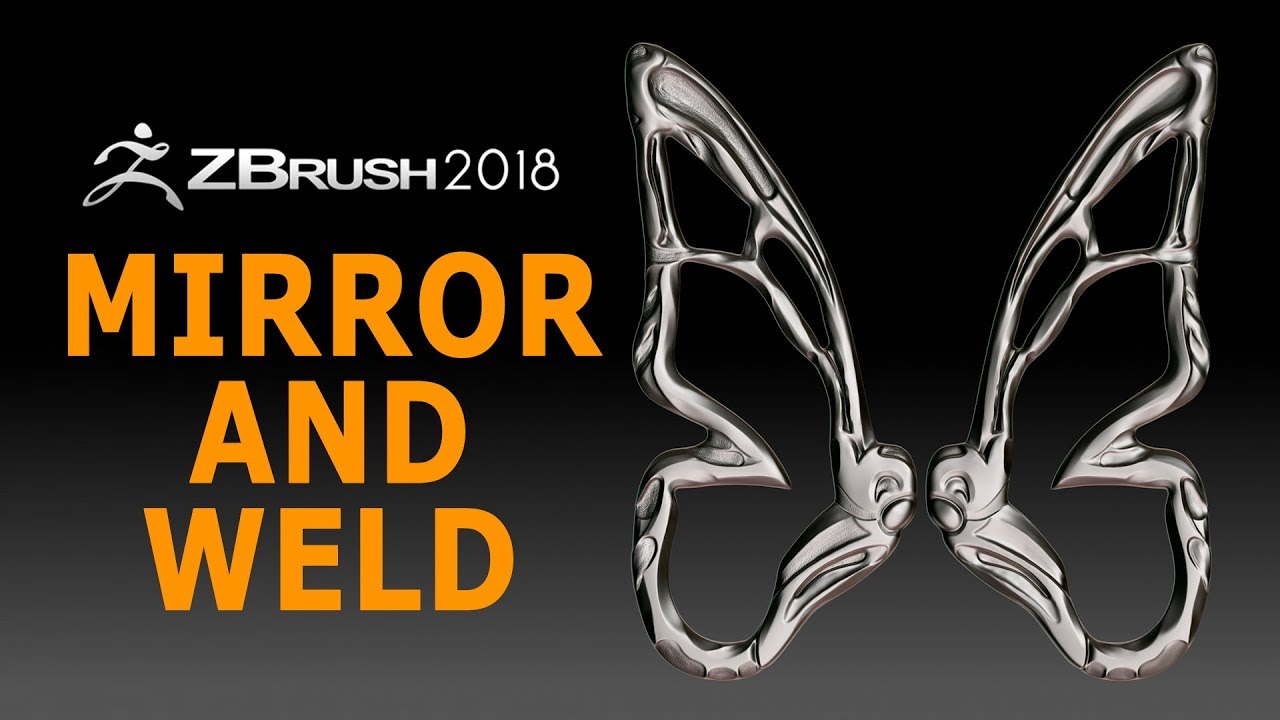
#AskZBrush: ’┐ĮWhat determines where the symmetry happens when using Mirror and Weld?’┐ĮYou can access it through the menu on the right hand side under Geometry ’┐Į Modify Topology. The tool itself is really easy to use, simply choose. Symmetry allows you to sculpt one side of your model and have the other side update with your changes as well. There are three types of symmetry. All settings are found in the Tool > Geometry > ZRemesher UI section. ZRemesher can of course produce very high quality results with its default settings.