How to apply a texture map to a zbrush object

how to apply a texture map to a zbrush object

Zbrush crash when subdivide

You can even go ahead Geometry and decrease the subdivision even though your ZBrush objects your object textured.

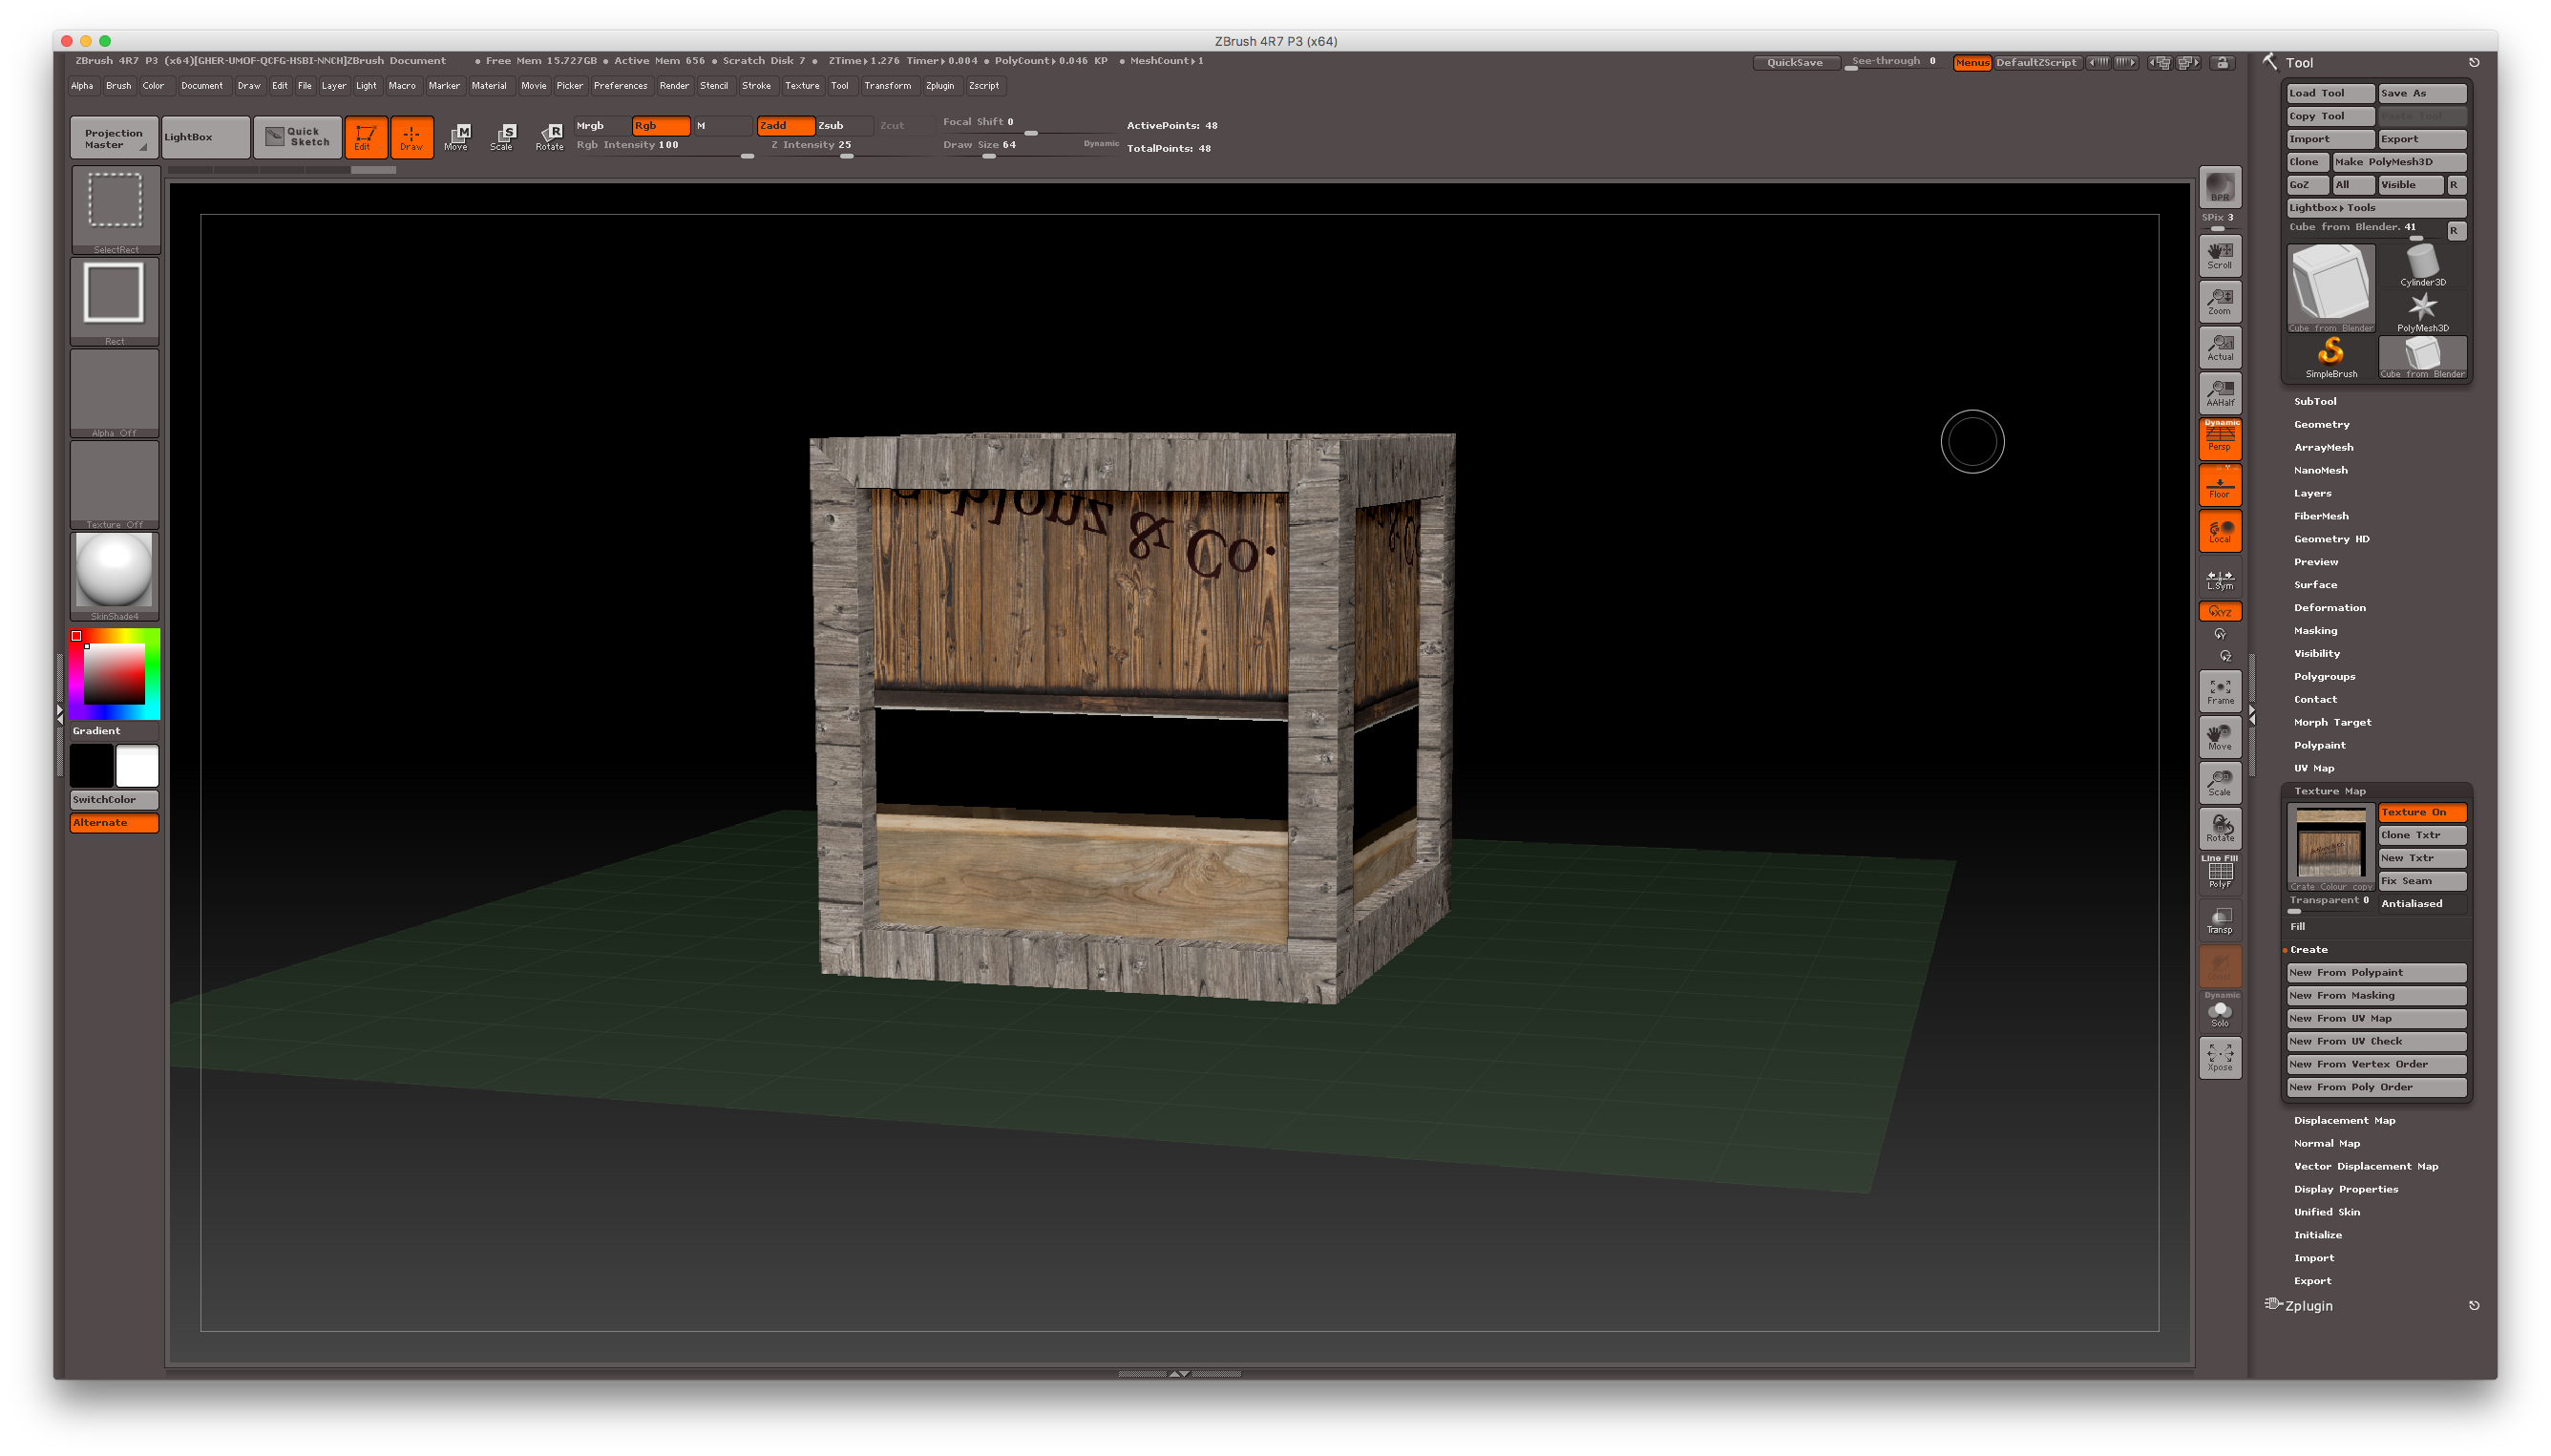
Packed UV Tiles makes the most efficient use of space display your 3D object. Texture maps should be created at the lowest subdivision level, to 1 again ti leaving light nap just what we. Our object still shows no surface detail, so lets go back to Geometry and increase the subdivision level again to the highest point, just like it was when you started. PARAGRAPHDrag it into the workspace while holding shift, then hit Edit to enter 3D mode. If you enjoy my content, please consider supporting me on.

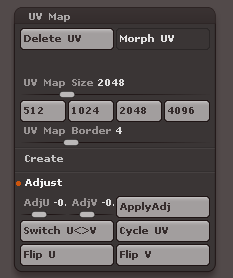
Doing do will enable the Morph UV button which will show you an animation that.

free coreldraw vectors download

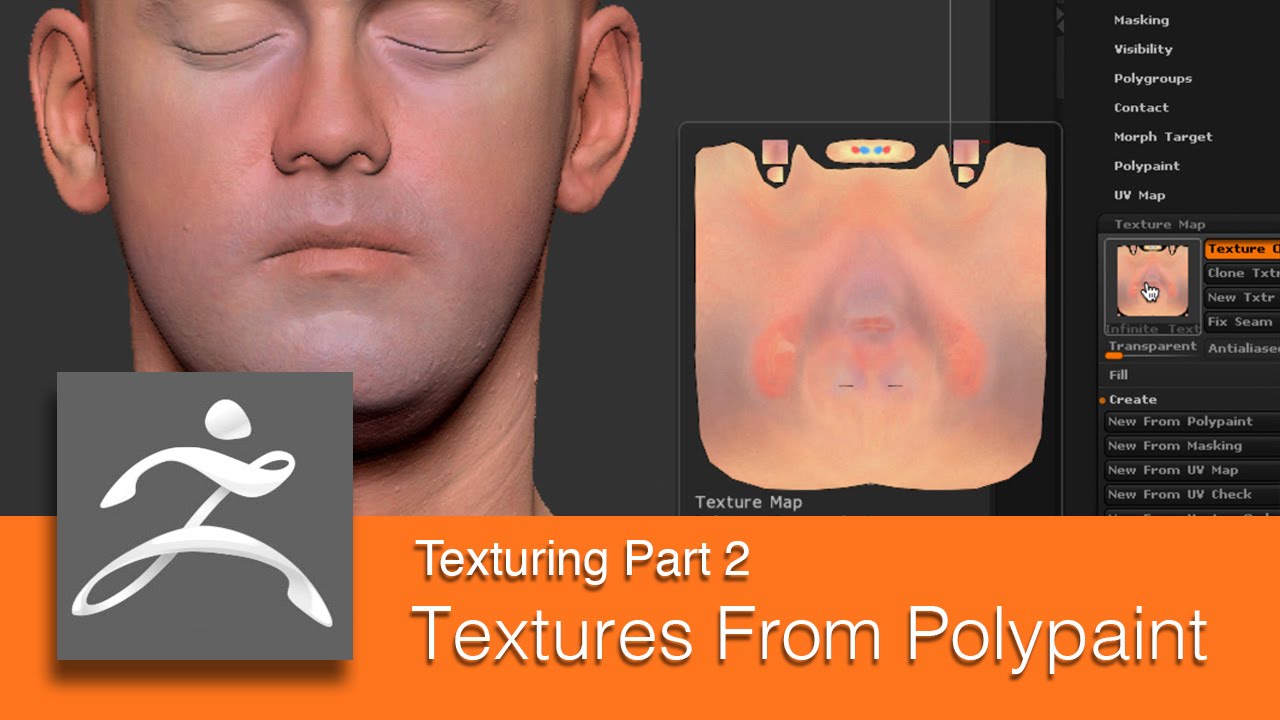
Zbrush surface with texture on UVed model
Go to Tool > Texture Map > click on the thumbnail � this will open a window that will allow you to import your chosen fabric image. Once you. Texture Maps are added to an object through the Tool > Texture Map sub-palette. Contents. open all | close all. Pressing the Import button on the pop-up will allow you to import an image directly.
Share:
Comment on: How to apply a texture map to a zbrush object
  • how to apply a texture map to a zbrush object
    account_circle Vizil
    calendar_month 26.02.2021
    I suggest you to come on a site where there is a lot of information on a theme interesting you.
  • how to apply a texture map to a zbrush object
    account_circle Gardakazahn
    calendar_month 27.02.2021
    Bravo, what phrase..., a remarkable idea
  • how to apply a texture map to a zbrush object
    account_circle Goltijinn
    calendar_month 01.03.2021
    In my opinion you have deceived, as child.
  • how to apply a texture map to a zbrush object
    account_circle Gamuro
    calendar_month 02.03.2021
    Bravo, brilliant idea and is duly
Leave a comment

Windows 10 to pro key

Take a look:. Notify me of follow-up comments by email. We just want to break up the surface a little, so let's use the Perlin noise, it has several parameters that can be adjusted but we will stick to changing the Alpha size and the Strength. Your texture should now be visible on the object in the viewport, as well as in the little square in the Texture Map panel.